People love engineered wood flooring. Visually it has all the fabulous look and appeal of a solid wood floor, and its easy to install with low maintenance. The range of engineered flooring available is nothing short of huge. From contemporary styles for the modern home to darker styles for a more traditional look. There’s truly something for everyone. With a little care and maintenance this durable flooring brings natural beauty to your home and will last for many years.
NEW FLOORS
Following a few care and maintenance steps will help protect your flooring and keep it looking its best. After installation it is important to allow the finish to properly dry or cure. Laying dust sheets over the whole area for at least 10-14 days and to keep floor traffic to a minimum is advisable. After two weeks it is safe to start setting your furniture and any rugs. Be advised not to use rubber or foam backed rugs as they may discolour the floor. Humidity and ambient temperature of the room should remain constant. With moisture levels generally at between 40% and 65% particularly if underfloor heating is installed. This minimises the natural expansion and contraction of the wood which can cause movement and splitting.
DEFENCE
Using mats at the entrance areas to your home avoids bringing fine particles of dust and dirt into the house. Always use appropriate mats, coir or a nylon polyester type so when wiping your feet it removes dust and grit from your shoes. Grit on the surface of a wood floor will act like sand paper, scratching or removing the finish.
Floor protectors will minimise indentations and marks. Castors on the base of sofas should be of an appropriate size cup, fitted so the weight is spread as evenly as possible. Under no circumstances allow the stiletto heel or shoes with spikes such as golf shoes access!
GENERAL CLEANING
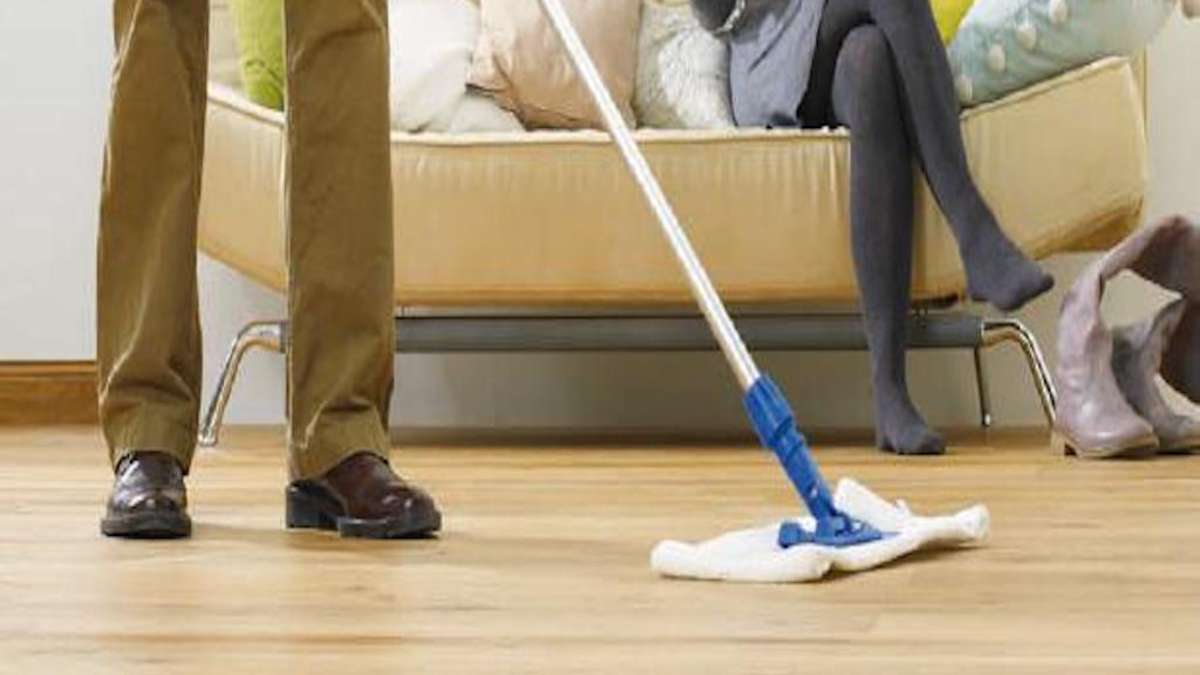
Regular cleaning of an engineered floor will reward you by keeping it looking in tip top condition. Sweeping with a soft broom, micro fibre dust mop or vacuuming with a soft attachment, collects any abrasive dust and grit and prevents any accumulations.
Wet cleaning is best avoided. However, periodically it is recommended you use an approved hardwood cleaner specifically formulated to match the finish of your floor. Using a slightly damp cloth or specialist mop apply the suitable product. For a lacquered finish we recommend Bono wood floor cleaner specially developed for efficient cleaning of varnished or hard-waxed wood floors. For an oil based finish use Osmo Wash and Care Cleaning Concentrate always following the manufacturers instructions. Never use the mop and bucket approach! Pools of water sitting on a wood floor for any length of time causes staining. Once cleaned allow the room to dry for at least 30 minutes.
STAINS, SPILLAGES AND SCRATCHES
Deal with any spills by wiping immediately, thus preventing staining. Any staining by alcohol, sweets or non-greasy food, warm water and an appropriate wood floor cleaner should do the trick. Best cleaning results are obtained by mixing floor cleaner with warm water. Following the instructions carefully on the packaging.
For tougher stains, or scratches simply sand and re-oil the one offending board instead of the whole floor. As an engineered floor consists of only a top veneer of real wood it is recommended this is carried out only up to a couple of times as there is a danger of sanding through the veneer. This is of course dependant on the quality of the veneer of the engineered floor.
APPLYING A MAINTENANCE OIL
If wishing to bring the floor back to its former glory, a maintenance oil can be re-applied. This involves re-sanding the entire floor and applying. Clean the floor prior to application and ensure it is completely dry and dust free. Use the same finishing oil as before to ensure a match. Shake or stir the oil well prior to application. Apply a fine coat of oil (best applied using a spray bottle). The sprayed maintenance oil can be rubbed into the floor with clean, dry white pad. Be sure not too apply too thickly. Next use a lint free cotton cloth to rub the floor completely dry. Avoid walking on the floor for the next 6 hours, during which period the oil will sufficiently dry for use.
RE-LACQUERING
Lacquered flooring has a slight sheen to it which protects the flooring from scrapes or scratches. It can over time, wear down, especially in high traffic areas. To repair a lacquered it is recommended to sand and refinish the entire floor. Do not attempt to repair and finish just one area as it will markedly stand out.
Re-sand the floor to remove the old lacquer finish. Start with the heaviest grit paper, moving to finer paper as you progress. Once sanded, let the dust settle. Vacuum any remaining dust on the floor, paying attention to between the gaps. Give the floor a wipe over with a damp cloth to remove any final traces of dust.
To re-coat your lacquered floor, apply the lacquer, starting at the edges and work towards the middle of the room and finally towards the door. When lacquering the edges, use a paintbrush and for larger areas a roller. At all times, work in sections along the grain to ensure full coverage.
LONG TERM CARE
Sunlight causes flooring to fade, re-positioning furniture occasionally will allow the floor to age evenly and spread wear and tear.
WHAT TO AVOID
Never use ammonia based products, harsh detergents or scourers to clean your floor. Avoid steam cleaners too as the moisture created is forced down into the wood causing damage and movement.
An engineered wood floor will, if maintained correctly, stand the test of time. By following the correct maintenance guidelines the floor it will look great for many years to come.

